AetherSX2 for Mac OFFICIALLY SUPPORTED EMULATION ENGINE
AetherSX2 for Mac macOS Setup
By HBKPublished Last updated
Quick summary
AetherSX2 is Android-only. On Mac, use PCSX2 for macOS with the Metal renderer. Apple Silicon M1–M4 Macs typically hold 3× native; Intel Macs should start at 2× with MTVU on.
- App: PCSX2, not the Android APK and not a Play Store build
- Renderer: Metal on Apple Silicon; test Vulkan/OpenGL only if Metal fails
- BIOS: dump from a PS2 you own; put it in PCSX2's bios folder
- Pads: DualShock / DualSense over USB or Bluetooth in macOS
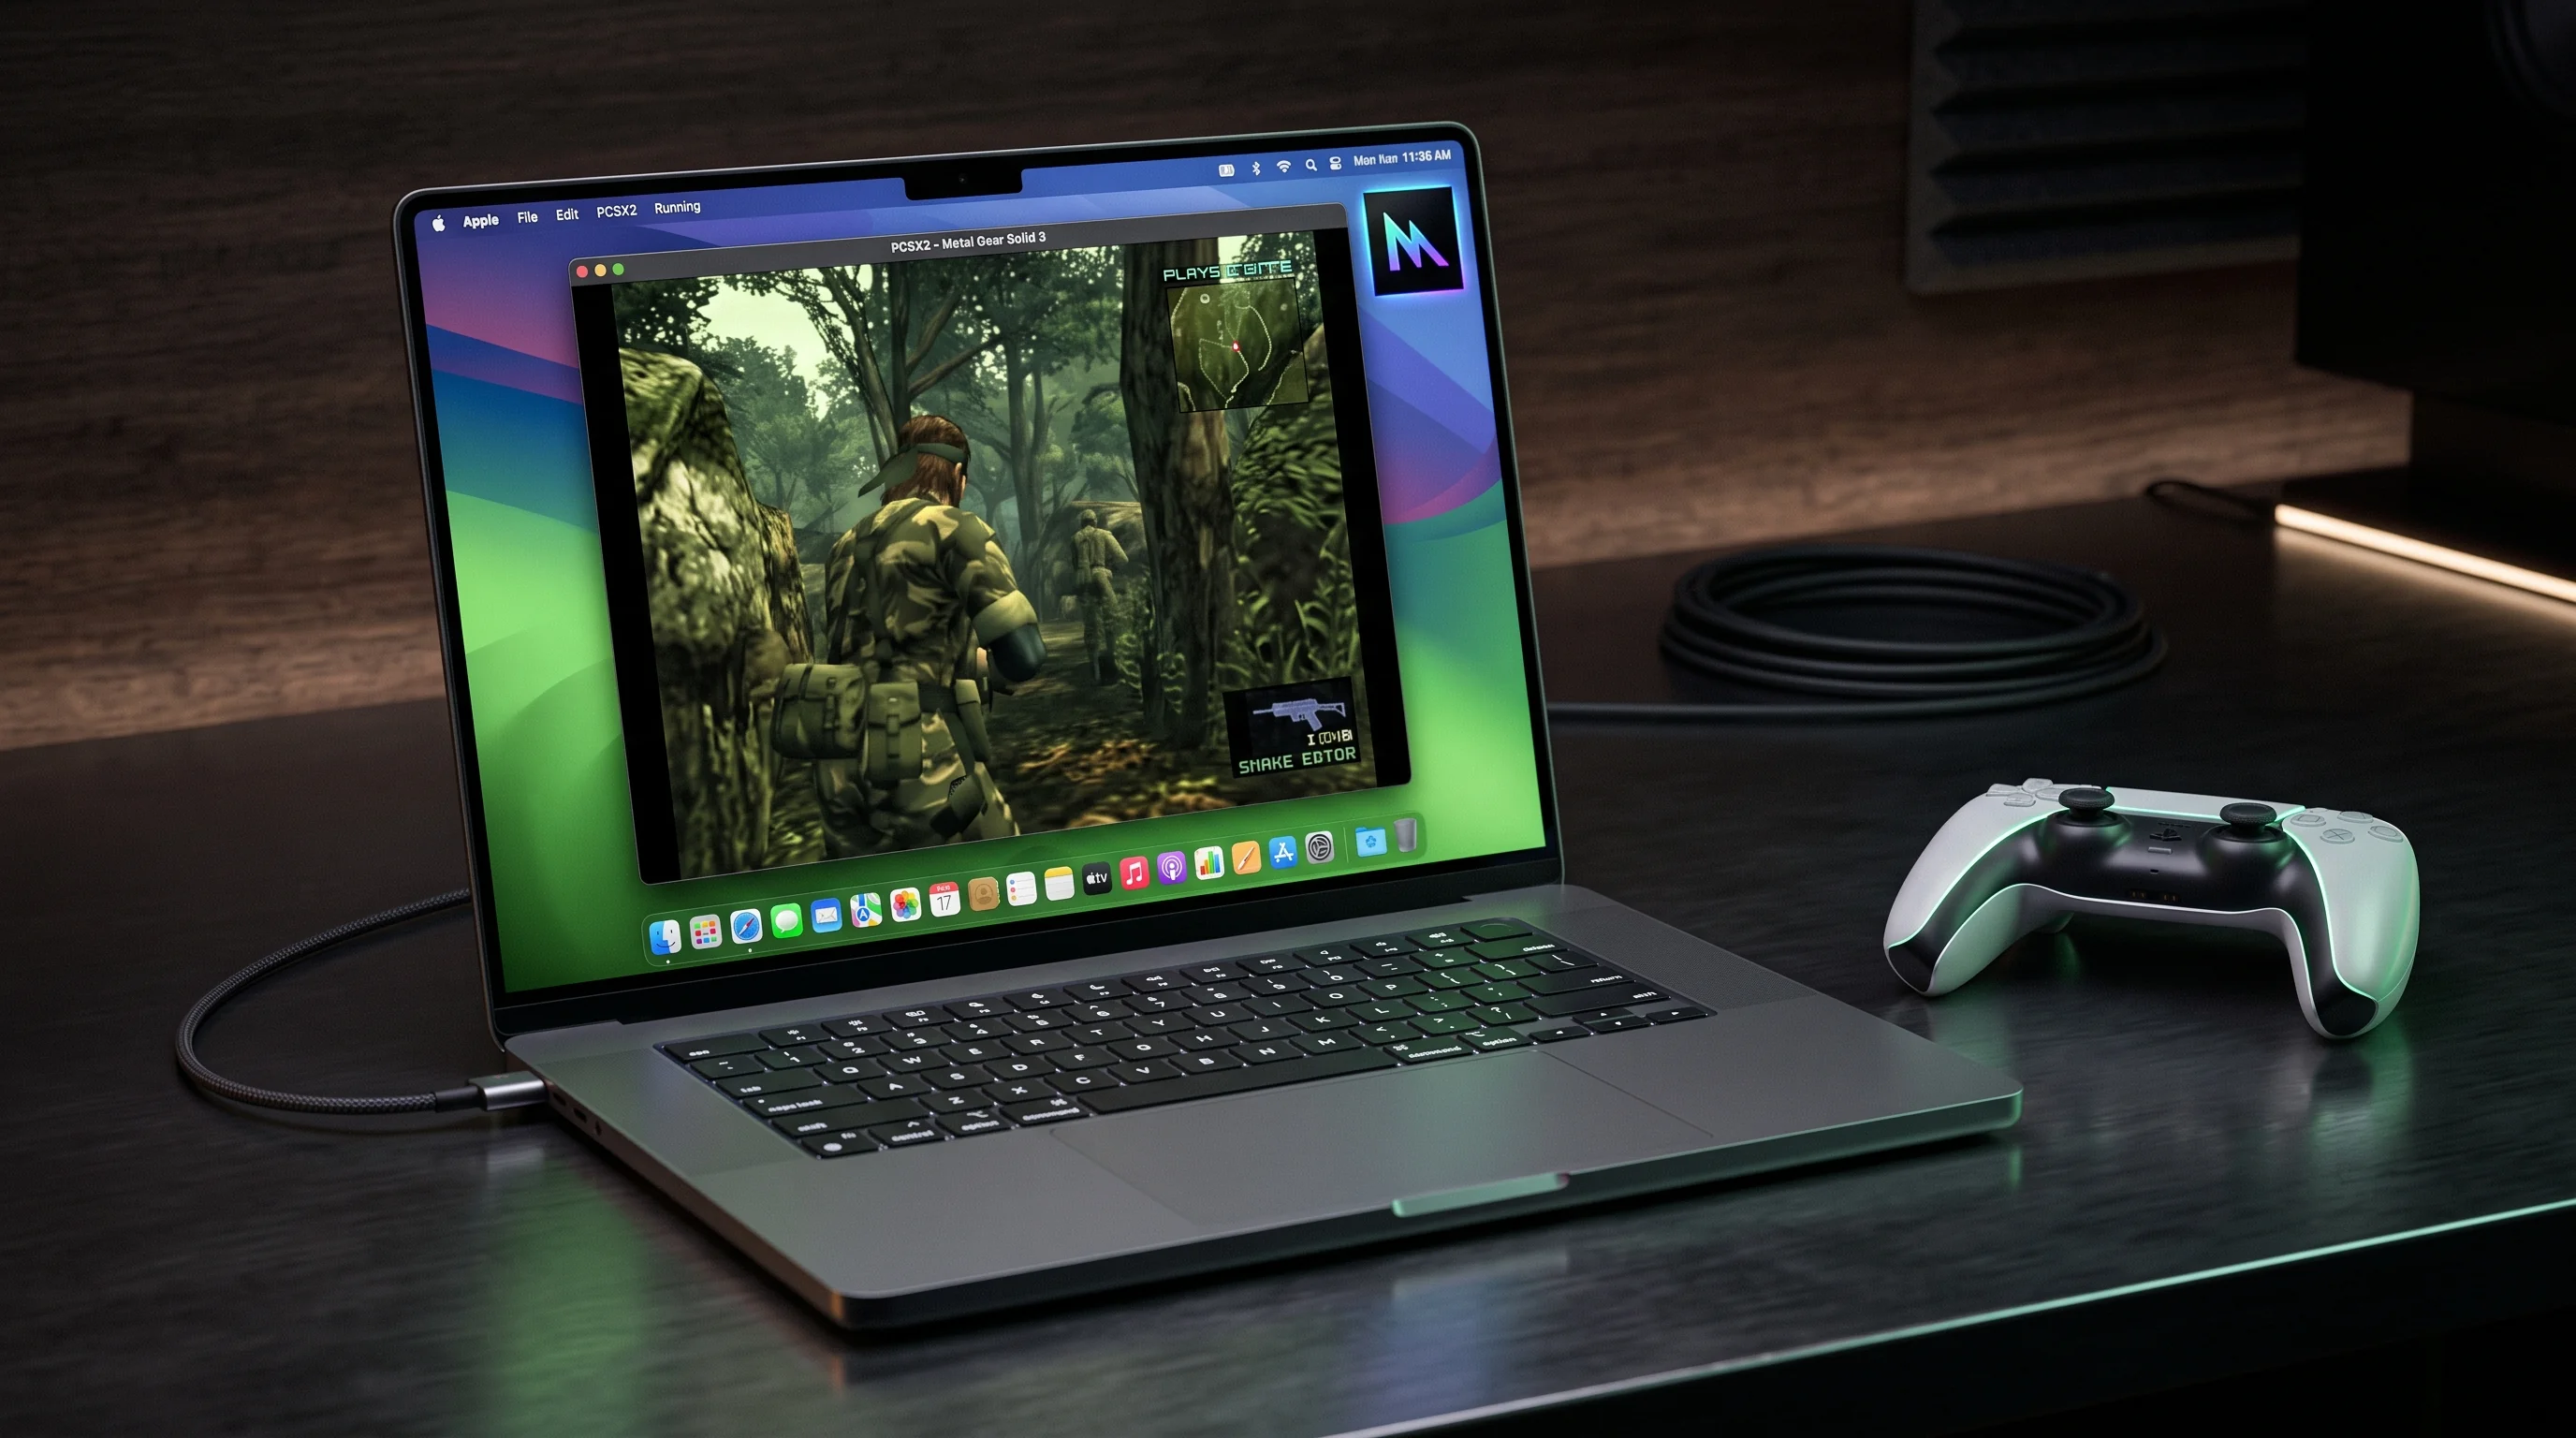
PlayStation 2 emulation on macOS has entered a golden age thanks to Apple Silicon hardware and dedicated C++ architecture optimization. While AetherSX2 was engineered for Android mobile devices, its underlying C++ emulation core is shared directly with PCSX2 for macOS. On Apple computers: including MacBook Air, MacBook Pro, Mac mini, iMac, and Mac Studio: this codebase delivers full 60 FPS gameplay, native 4K upscaling, and instant controller pairing without requiring bootcamp or Windows virtual machines. See our desktop emulator comparison for how PCSX2 differs from the mobile build.
Whether you are running an ARM64 Apple Silicon M1, M2, M3, or M4 Mac or a classic x86-64 Intel Mac, this guide covers everything required to set up native PS2 emulation, optimize Metal graphics settings, bypass macOS security warnings, and achieve console-perfect performance.
On this page
The PlayStation 2's complex internal hardware architecture: comprising the 64-bit Emotion Engine CPU, dual Vector Units (VU0 and VU1), and the Graphics Synthesizer (GS): demands high single-thread CPU performance and efficient GPU memory bandwidth to emulate accurately.
On macOS, native C++ builds translate PS2 system calls directly into ARM64 instructions for M-series chips or x86-64 instructions for Intel Processors. Because Apple's M-series chips feature ultra-low latency Unified Memory Architecture (UMA), the CPU and GPU share the same memory pool. This eliminates the bandwidth bottlenecks that traditionally occurred when copying texture data between system RAM and VRAM on dedicated GPUs.
Key Benefits of Running PS2 Games on macOS:
- Unified Memory Efficiency: Zero-copy texture loading enables instantaneous texture dumping and 4K upscaling with minimal battery drain.
- Metal Graphics Backend: Apple's low-overhead Metal API replaces legacy OpenGL, drastically reducing draw call overhead and stuttering.
- Retina Display Native Scaling: Crisp internal resolution scaling (2x, 3x, 4x, or 6x) renders retro 480i titles in razor-sharp 1080p, 1440p, or 4K resolution on Liquid Retina XDR displays.
- Native Gamepad Support: Built-in macOS Game Controller framework supports PS5 DualSense, PS4 DualShock, Xbox Series X/S, and Switch Pro gamepads natively over Bluetooth.
Apple Silicon (M1/M2/M3/M4) vs Intel Performance Matrix
Performance varies significantly depending on your Mac's processor architecture. Apple Silicon chips deliver exceptional efficiency and performance per watt, while older Intel Macs require careful configuration of speed hacks and resolution multipliers. For handset-class comparisons, see phones that handle PS2 well — MacBook Air M-series sits well above any phone tier.
| Mac Hardware Tier | Processor & GPU Config | Tested Upscaling Headroom | Average Framerate | Recommended Backend |
|---|---|---|---|---|
| Base MacBook Air / Mini | Apple M1 / M2 (8-Core CPU/GPU) | 3x Native (1080p Full HD) | 60 FPS Locked | Metal / Vulkan |
| Mid-Tier MacBook Pro / Mini | Apple M2 Pro / M3 (10 to 14-Core) | 4x - 6x Native (1440p / 4K) | 60 FPS Locked | Metal |
| High-End Studio / Pro | Apple M2 Max/Ultra, M3/M4 Pro/Max | 6x - 8x Native (4K / 8K) | 60 FPS Locked | Metal |
| Legacy Intel Macs (2018-2020) | Intel Core i5 / i7 + AMD Radeon | 2x Native (720p / 1080p) | 45 - 60 FPS | OpenGL / Vulkan |
Why Metal API Delivers Peak Performance on macOS
Apple deprecated OpenGL on macOS in favor of Metal, their proprietary low-overhead graphics API. Modern PS2 emulator builds on macOS utilize native Metal rendering backends to interface directly with Apple Silicon GPUs.
Why Metal outperforms OpenGL on Mac:
- Reduced CPU Overhead: Metal allows the emulator to submit draw commands to the GPU with up to 10x less CPU instruction overhead than legacy OpenGL drivers.
- Proper Blending Accuracy: Complex PS2 graphical effects: such as fog in Silent Hill 2, heat haze in GTA San Andreas, and motion blur in Shadow of the Colossus: render accurately without graphical corruption.
- Shader Pre-compilation: Metal compiles pipeline state objects (PSOs) efficiently, preventing the mid-game shader compilation stutters common in OpenGL.
Recommended Graphic & System Settings
To achieve optimal performance and graphical clarity, configure the emulator using the following baseline settings:
Graphics Settings:
- Renderer: Metal (Auto-detects Apple Silicon GPU).
- Internal Resolution: 2x Native (720p) for base M1/Intel, 3x Native (1080p) for M2/M3, 4x Native (1440p) or higher for M3 Pro/M4.
- Texture Filtering: Bilinear (PS2) or Forced 16x Anisotropic Filtering for sharper distant textures.
- Blending Accuracy: Full / High (fixes transparent textures and shadow glitches).
- Aspect Ratio: 16:9 (Enable Widescreen Patches in Game Settings for true non-stretched widescreen).
System & Speed Hack Settings:
- EE Cycle Rate: 100% (Normal / 0) for all M-series Macs. Set to -1 (Underclock) only on dual-core Intel Macs.
- VU Cycle Stealing: 0 (Disabled). Avoid cycle stealing on Apple Silicon as CPU cores are fast enough.
- MTVU (Multi-Threaded VU1): Enabled. Offloads Vector Unit calculations to a separate CPU thread, boosting FPS by 30-50%.
Step-by-Step macOS Installation Guide
Follow these instructions to set up native PS2 emulation on your Mac:
Step 1: Download & Move Application
- Download the macOS package archive directly from our verified server link on this page.
- Unzip the downloaded archive (
aethersx2-mac-aetherrsx2apk-com-version.zip). - Open Finder and drag the application into your system Applications folder (
/Applications).
Step 2: Configure the PS2 BIOS Firmware
- Open Finder, click Go in the top menu bar, select Go to Folder... (or press
Cmd + Shift + G). - Paste the following directory path and press Enter:
~/Library/Application Support/PCSX2/bios/
- Copy your dumped PS2 BIOS firmware files (e.g.,
SCPH-70012.bin,SCPH-39001.bin) into this folder. Full steps in our BIOS walkthrough. - Launch the application and select your BIOS file when prompted during initial setup.
Step 3: Add Your Game Library Directory
- Store your PS2 disc images (
.iso,.chd, or.csoformat) in a designated folder (e.g.,~/Documents/PS2 Games/). - Inside the emulator settings, navigate to Game List ➔ Add Search Directory.
- Select your games folder. The emulator will automatically scan and fetch cover art and metadata.
Bypassing the macOS Gatekeeper Warning
Because open-source macOS software binaries downloaded outside the Mac App Store are not signed with an expensive Apple Developer ID certificate, macOS Gatekeeper may display a security prompt stating: "Application cannot be opened because it is from an unidentified developer."
Method 1: System Settings GUI (Recommended)
- Open System Settings on your Mac.
- Navigate to Privacy & Security in the left sidebar.
- Scroll down to the Security section.
- You will see a notification regarding the application. Click Open Anyway.
- Enter your Mac administrator password or use Touch ID to confirm.
Method 2: Terminal Quarantine Removal (Advanced)
If macOS blocks execution completely, remove the quarantine extended attribute via Terminal:
- Open Terminal (press
Cmd + Space, typeTerminal, and press Enter). - Execute the following command:
sudo xattr -rd com.apple.quarantine /Applications/PCSX2.app- Enter your administrator password when prompted. The application will now launch without security prompts.
Connecting & Mapping Controllers on macOS
macOS includes native system-level support for modern gaming controllers via Apple's Game Controller framework:
Supported Gamepads:
- Sony PlayStation: DualSense (PS5), DualShock 4 (PS4).
- Microsoft Xbox: Xbox Series X/S Wireless, Xbox One Bluetooth Controllers.
- Nintendo: Switch Pro Controller, Joy-Cons.
- Third-Party: 8BitDo, Backbone One, Razer Kishi, Logitech F310/F710.
Pairing via Bluetooth:
- Put your controller into pairing mode (e.g., hold Share + PS Button on DualSense until the light bar flashes).
- On your Mac, go to System Settings ➔ Bluetooth and click Connect next to your controller.
- Launch the emulator, navigate to Settings ➔ Controllers ➔ Automatic Mapping, and press any button on your gamepad. All buttons, analog sticks, and pressure-sensitive triggers will be mapped automatically. Pairing tips in wireless gamepad pairing.
Tested Game Benchmarks on Apple Silicon
Below are verified performance benchmarks recorded on Apple Silicon hardware running at 3x Native 1080p resolution:
| Game Title | Genre | Target FPS | Tested Speed | Recommended Renderer | Notes & Fixes |
|---|---|---|---|---|---|
| God of War II | Action / Hack & Slash | 60 FPS | 60 FPS Locked | Metal | Set Blending Accuracy to High for bloom fix. |
| Gran Turismo 4 | Racing Simulation | 60 FPS | 60 FPS Locked | Metal | Enable Skipdraw = 1 to fix vertical line glitches. |
| Shadow of the Colossus | Action / Adventure | 60 FPS | 60 FPS Locked | Metal / Vulkan | MTVU Enabled; set EE Cycle Rate to 0. |
| Final Fantasy X | JRPG | 60 FPS | 60 FPS Locked | Metal | Runs perfectly with zero speed hacks needed. |
| Metal Gear Solid 3 | Stealth / Action | 60 FPS | 60 FPS Locked | Metal | High Depth Effects require Metal renderer. |
Memory Card & Save State Management
The emulator creates virtual 8 MB PS2 memory cards to save your game progress exactly as a physical PS2 console does, alongside instant save-state snapshots:
- Virtual Memory Cards: Located at
~/Library/Application Support/PCSX2/memcards/. You can create multiple 8 MB or 32 MB.mcdfiles for different game libraries. - Save States: Press
F1to instantly save a state snapshot, and pressF3to load it. Save state files are stored in~/Library/Application Support/PCSX2/sstates/. Read checkpoint saves explained before moving files between Mac and Android.
macOS runs PCSX2 with Metal/Vulkan, not AetherSX2. Source: PCSX2 GitHub. Game notes: PCSX2 wiki.
Frequently Asked Questions
Is the download file hosted directly on your website?
Yes. The download link at the top of this page starts an immediate, direct file transfer from our server (aetherrsx2apk.com).
Can I run AetherSX2 directly on Mac or do I use PCSX2 for macOS?
AetherSX2 was built specifically for Android ARM mobile devices. On macOS, PCSX2 for macOS shares the exact same C++ codebase and core renderer created by the emulation community. Running native PCSX2 on macOS delivers identical settings, compatibility, and performance.
Does it run on Apple Silicon M1, M2, M3, and M4 Macs?
Yes! Modern macOS builds are compiled natively for ARM64 Apple Silicon. They run natively without needing Apple's Rosetta 2 translation layer, yielding maximum performance and battery life.
How do I fix black screen issues on macOS?
Black screens are typically caused by missing BIOS files or an incompatible graphics backend. Ensure your BIOS files are in ~/Library/Application Support/PCSX2/bios/, set the renderer to Metal, and verify your disc image is uncorrupted. See blank display after launch for renderer swaps.
How do I enable 60 FPS 16:9 widescreen patches?
Navigate to Settings ➔ Interface ➔ Enable Widescreen Patches. This automatically loads built-in 16:9 .pnach aspect ratio hacks for supported games without stretching the 4:3 3D viewport. Details in 16:9 patch options.
Can I transfer save states between Android AetherSX2 and Mac?
Virtual memory card .gme / .ps2 / .mcd files can be copied directly between Android and macOS. However, instant save states (.sstate) are platform-specific and should not be transferred between different architecture builds.